In this tutorial, you will learn how to work with composite tables in DataObjects for .NET Express. Complete the following steps:
- Create a new .NET 2.0 Windows Application project.
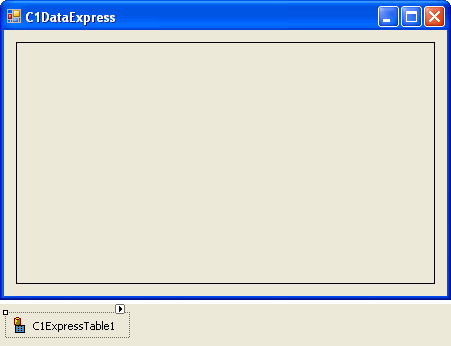
- Place the following components on the form and arrange them as shown in the image below:
Number of Components Name Namespace 1 C1ExpressTable C1ExpressTable1 C1.Data.Express.C1ExpressTable 1 C1TrueDBGrid C1TrueDBGrid1 C1.Win.C1TrueDBGrid.C1TrueDBGrid
- Select the C1ExpressTable1 component.
- Click the drop-down arrow next to the ConnectionString property in the Properties window and select <New Connection…>. The Add Connection dialog box opens.
- Select the provider, the database and other necessary connection properties in that dialog box. In this tutorial, we use the standard MS Access Northwind sample database (C1NWind.mdb)
- Click the Change button, if necessary, and select Microsoft Access Database File. The .NET Framework Data Provider for OLE DB is selected under Data provider.
- Under Database file name, browse to locate the C1NWind.mdb. The database is installed in the Common folder of the ComponentOne Samples directory
- Click OK to close the Add Connection dialog box.
- Select Composite Table Editor from the C1ExpressTable Tasks menu.
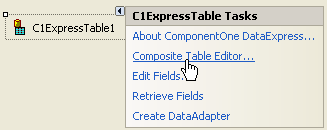
Alternatively, you can click the drop-down arrow next to the DbTableName property and select <Composite…> from the database table list. The Composite Table Editor appears.
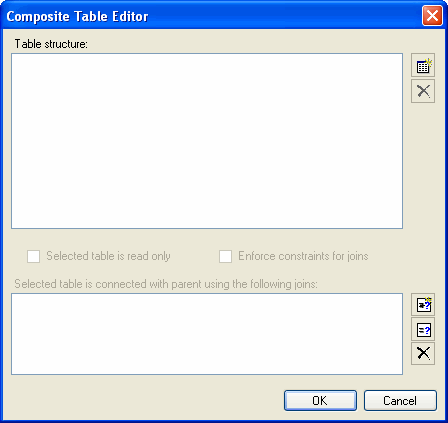
- In the Composite Table Editor, click the Add table button
 . In the Add table dialog box, select the Orders table and click OK.
 - Open the Add table dialog box again and select Order Details. Notice that the 1-M relation radio button is selected.
- Click OK. Notice that the Order Details table has been added to the composite table attached to its parent with a 1-M, or one-to-many relation
 .
. - Click the Add join button
 and select OrderID in the Parent field and OrderID in the Child field. Then click OK to close the Add new join dialog box.

The following join connects the Order Details table to its parent Orders:
Orders.OrderID = Order Details.OrderID - Click the Add table button again and select Products.
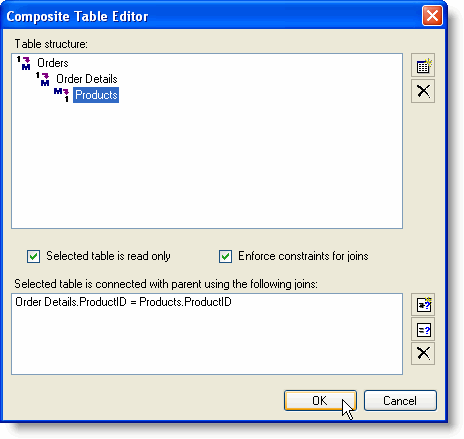
- Select the using many-to-one (M-1) relation radio button and click OK. Notice that the Products table has been added to the composite table attached to its parent with an M-1, or many-to-one relation
 .
. - Click the Add join button and select ProductID in the Parent field and ProductID in the Child field. Then click OK to close the Add new join dialog box.
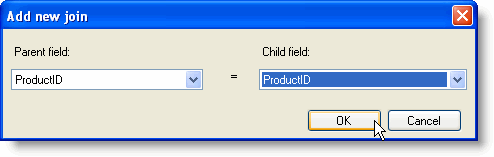
The following join connects the Products table to its parent Orders:
Order Details.ProductID = Products.ProductID
The overall table structure looks like this:
Orders (1->M) Order Details (M->1) Products - Click OK to close the Composite Table Editor.
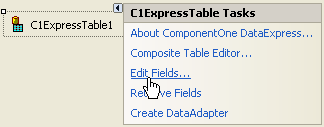
- Select Edit Fields from the C1ExpressTable Tasks menu. Alternatively, you can click the ellipsis button next to the Fields property in the Properties window.
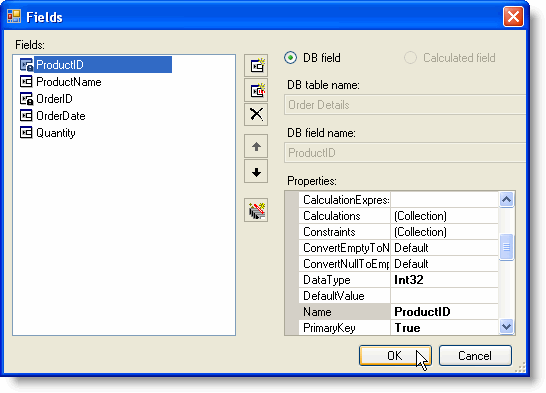
The Fields editor appears. Only two fields appear in the editor: OrderID and ProductID. These are primary key fields of the constituent DB tables; they are always present in the composite table fields. Other fields must be explicitly added in the Fields editor.

- Add the following fields using the Add DB field button
 : Orders.OrderDate, Products.ProductName, Order Details.Quantity.
 - Rearrange the order of fields to your liking using the Move up and Move down buttons and click OK to close the Fields editor.
- Select the C1TrueDBGrid control, open the C1TrueDBGrid Tasks window, and set the Data Source to C1ExpressTable1. This binds the grid to the C1ExpressTable, and the composite table fields appear in the grid.

Run the program and observe the following:
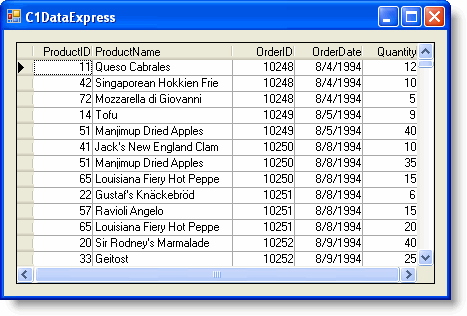
- The grid shows the composite table rows containing fields from all three constituent DB tables.
- Change a value in the ProductID column and observe that the corresponding value of the ProductName column changes accordingly. DataObjects for .NET Express not only populates composite tables automatically (generating SQL statements behind the scenes), but unlike other data frameworks, including ADO.NET, it remains "structure-aware", preserves the structure of the composite table throughout end user modifications.