As you are done with creating a UWP application that adds C1ColorPicker controls and customizes their appearance and behavior, it is time to run the application and observe the result.
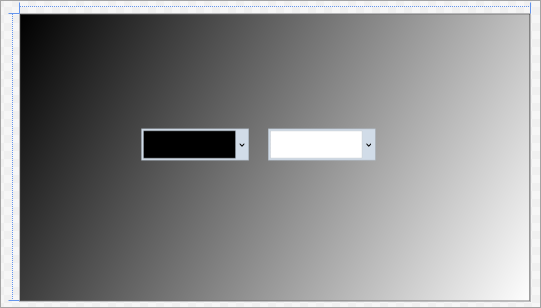
- In Debug menu, select Start Debugging option to view the output. You will see a black and white window with two C1ColorPicker controls positioned in the middle of the screen as follows.
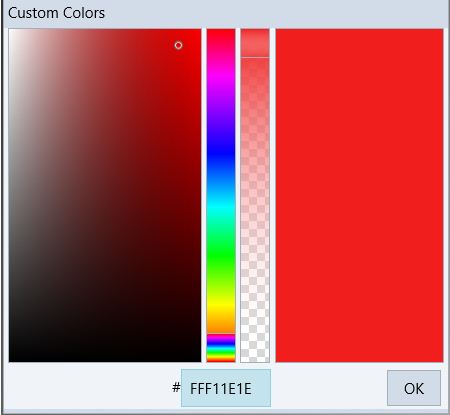
- In the ColorPicker appearing on the left side, click the drop-down arrow to see that the drop-down box opens below with advanced mode visible, reflecting the changes you made to the control in Step 2.

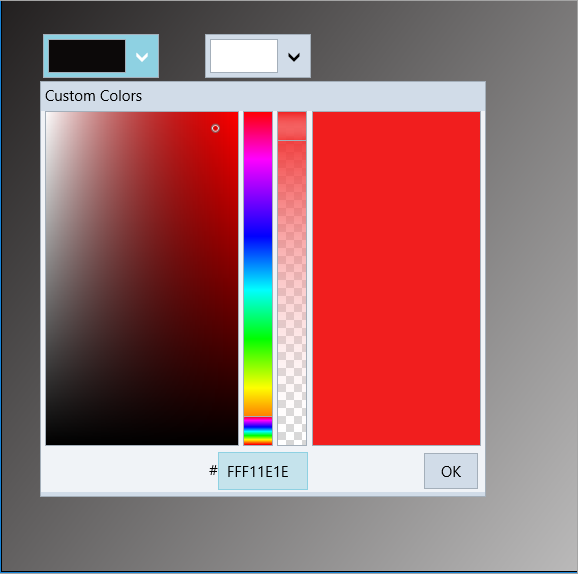
- You can select a color, for instance Red, by various methods and click OK. Notice that the selected color and rectangle's gradient changes, reflecting your choice.
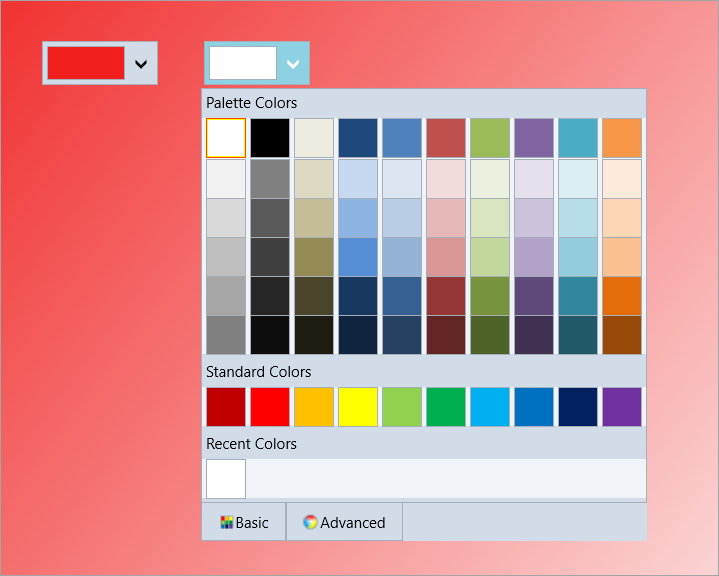
- Click the drop-down arrow in the ColorPicker control appearing on the right side, C1ColorPicker2, to observe that the drop-down box opens in default Basic mode displaying tabs like Color Palette, Standard Colors and Recent Colors.
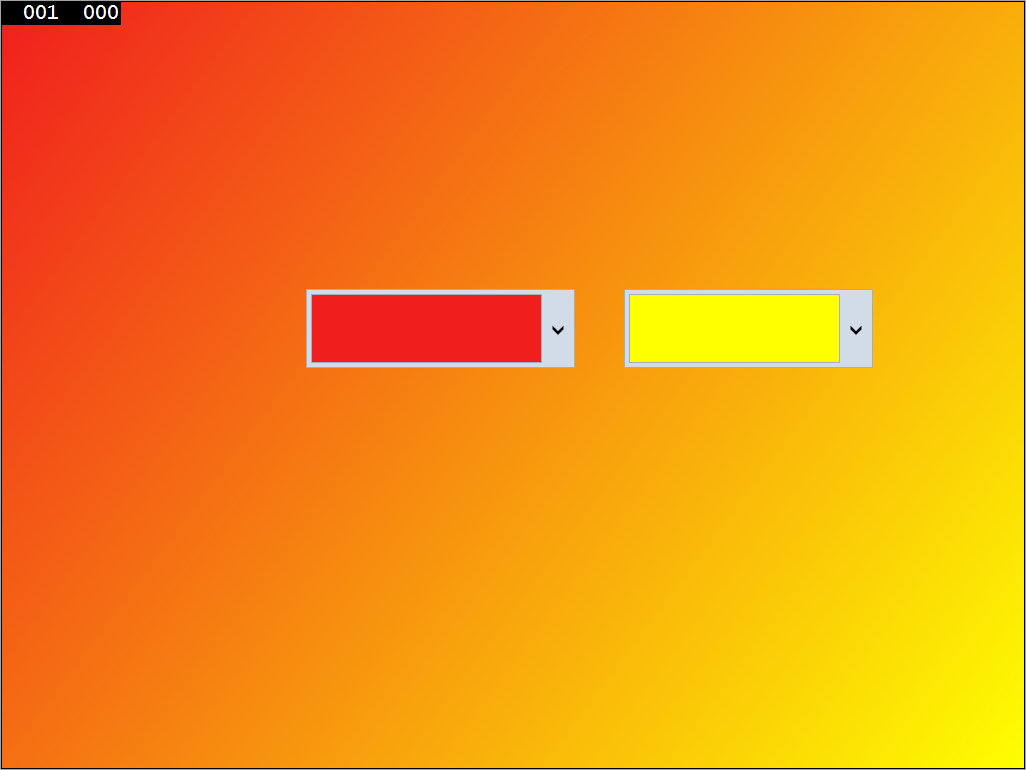
- Pick a color, say Yellow, in the drop-down box to see that the rectangle's gradient changes as per your selection and would appear as below.
This complete the Quick Start section, wherein you created a simple application to add and customize the appearance of C1ColorPicker control, and observed some of its key features at runtime.
See Also