In this step you'll begin in Visual Studio to create a WPF application using ColorPicker for WPF. When you add a C1ColorPicker control to your application, you'll have a complete, functional color input selector.
To set up your project and add a C1ColorPicker control to your application, complete the following steps:
-
Create a new WPF project in Visual Studio.
-
Navigate to the Toolbox and double-click the Rectangle icon to add the standard control to the Grid.
-
Resize the window, and resize the rectangle to fill the window.
-
Switch to XAML view and add a Fill to the <Rectangle> tag so it appears similar to the following:
XAML
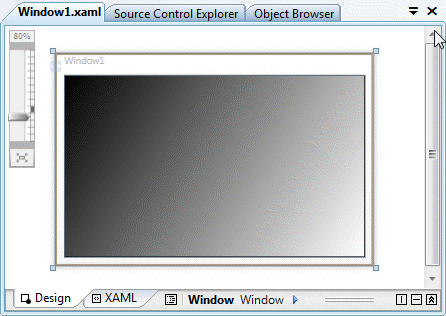
This will add a black and while linear gradient fill to the rectangle. The design view of the page should now look similar to the following image:
You've successfully created a WPF application and customized the Rectangle control. In the next step you'll add and customize C1ColorPicker controls.