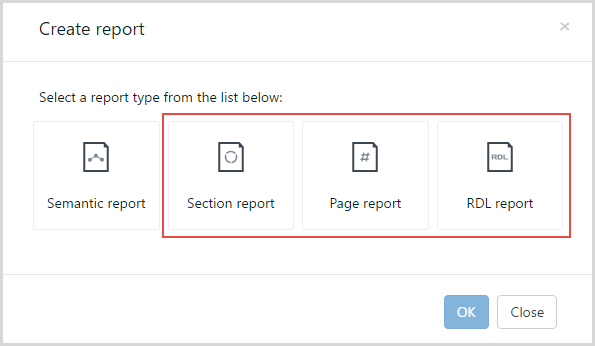
You can create a new RPX/RDLX report from the Report portal in the ClickOnce End User Designer. The Designer provides all basic functions of ActiveReports Designer where you can design a report based on the selected report type - Section, Page, or RDL report.
- In the Report list area of the Report Portal, click the Create report icon.

- In the Create report dialog that appears, choose from Section, Page, or RDL report layout types.
- Click OK to open the ClickOnce End User Designer.
Note: Steps 4 and 5 do not apply for Section reports since Section reports do not support server shared data sets. To set data source in Section reports, click Data Source icon to open Report Data Source dialog, select the data type, fill in the fields, and click OK. - In the Report Explorer, right-click the Server Data Sets node and select the Add Data Set option to add a server shared data set.

- In the Add Server Data Set dialog that appears, select the data set, and click OK.

- From the toolbox, add controls to your report.
- Click the preview tab to view the report at design time.

- To save the report, go to the File menu and click Save.

- In the Save As dialog that appears, enter the Report name and click Save.

You can also add a description or a comment, or select the category where you want to save your report.
See Also