ActiveReports 12 Server User Guide
UI Settings
ActiveReports 12 Server User Guide > Managing Configuration > UI Settings

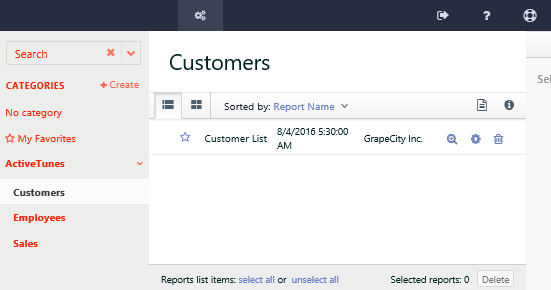
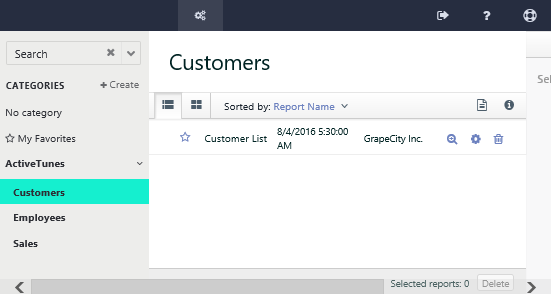
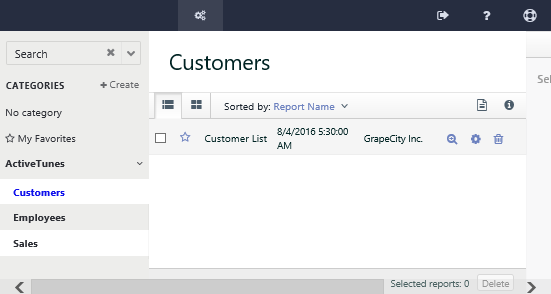
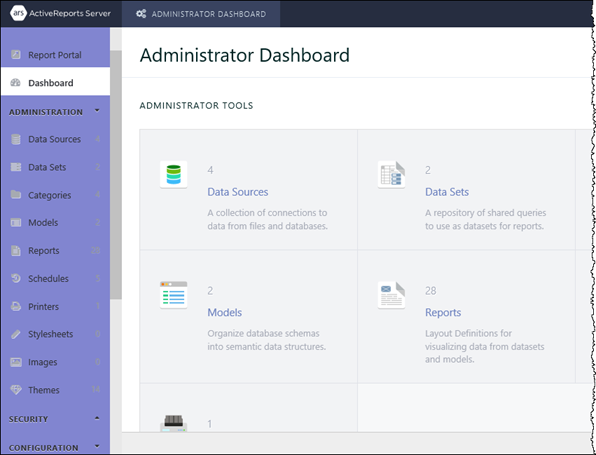
ActiveReports Server lets you change the appearance of the Administrator Dashboard and the Report Portal. You can customize the following UI elements of ActiveReports Server:

The following settings are available to the administrator.

To customize UI elements

  1. In the Administrator Dashboard sidebar menu, expand the Configuration section and click UI Settings.
  2. Select the Turn on UI Customization check box to enable customization. The Common, Report Portal, and Admin Portal tabs appear.
Note: The following steps assume that you have already enabled UI customization using the above steps.

To customize the page title

  • Click the Report Portal or Admin Portal tab for which you want to customize the Page title.
  • Enter the title under Report Portal Title or Admin Portal Title.
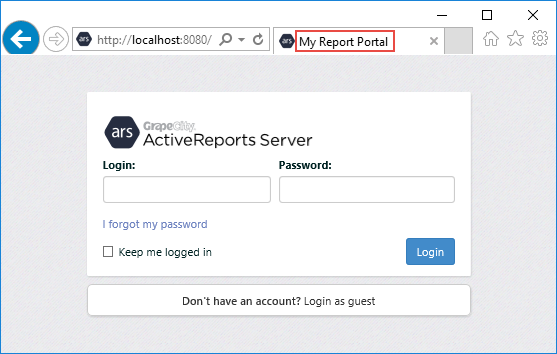
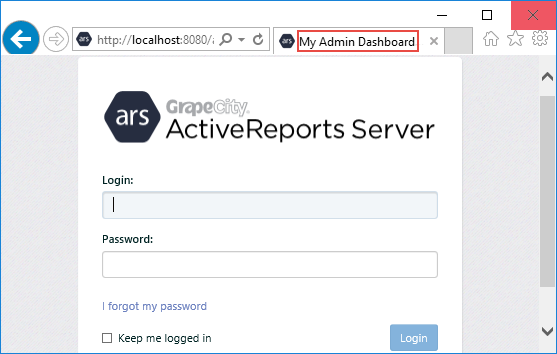
  • Click Save. This changes the title displayed in the browser tab for all pages of the Report Portal (including login page) or Admin Portal.
  1. Select the Report Portal tab.
  2. Enter the page title under Report Portal Title.
  3. Click Save. This changes the title displayed in the browser tab for all pages of the Report Portal, including the login page.

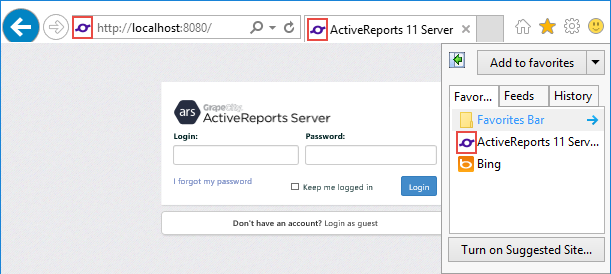
    Login page of Report Portal


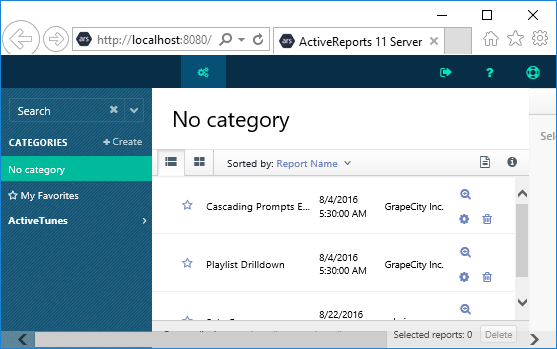
    Default page of Report Portal

  • Click the Report Portal or Admin Portal tab for which you want to customize the Page title.
  • Enter the title under Report Portal Title or Admin Portal Title.
  • Click Save. This changes the title displayed in the browser tab for all pages of the Report Portal (including login page) or Admin Portal.
  1. Select the Admin Portal tab.
  2. Enter the title under Admin Portal Title.
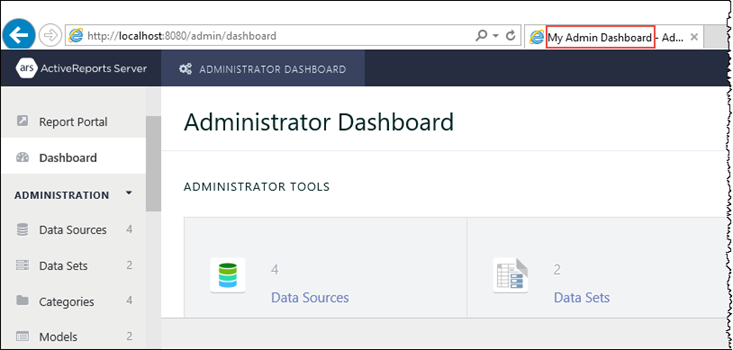
  3. Click Save. This changes the title displayed in the browser tab for all pages of the Admin Portal, including the login page.

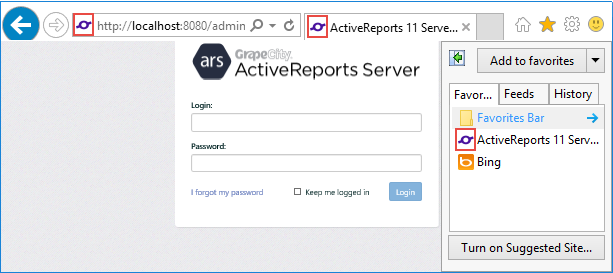
    Login page of Admin Portal


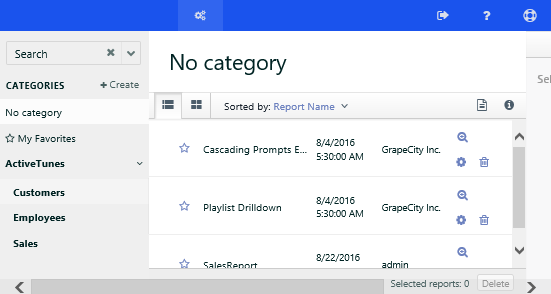
    Default page of Admin Portal

To apply and customize a predefined theme

ActiveReports server provides multiple predefined themes. You can choose from default, aurora, cloudy, contrast, light, superhero, and winter themes. You can further customize the themes by overriding the colors of the header and sidebar areas to match your requirement.

  • Click the Report Portal or Admin Portal tab for which you want to customize the theme.
  • Select a theme from the dropdown menu - aurora, cloudy, contrast, light, superhero, and winter.
  • Click Save. It changes the background color and font color of Report Portal or Admin Portal.
  1. Select the Report Portal tab.
  2. Select a theme from the dropdown menu.
  3. Click Save. This changes the theme of the Report Portal.
  • Click the Report Portal or Admin Portal tab for which you want to customize the theme.
  • Select a theme from the dropdown menu - aurora, cloudy, contrast, light, superhero, and winter.
  • Click Save. It changes the background color and font color of Report Portal or Admin Portal.
  1. Select the Admin Portal tab.
  2. Select a theme from the dropdown menu.
  3. Click Save. This changes the theme of the Admin Portal.

Header color

You can customize the color of the background, text, highlighted background, and hover background in the header area.

  1. Select the Report Portal tab.
  2. In the Customize header colors section, select a color from the palette to change any of the following header colors. You can preview the selected colors at the bottom of the UI Settings page, and click the reset button next to the color picker to revert to the default color.
    Background color
    Text color
    Highlighted background color
    Hover background color
  1. Select the Admin Portal tab.
  2. In the Customize header colors section, select a color from the palette to change any of the following header colors. You can preview the selected colors at the bottom of the UI Settings page, and click the reset button next to the color picker to revert to the default color.
    Background color
    Text color
    Highlighted background color
    Hover background color

Sidebar color

You can customize the color of the background, text, active item background, and active item text in the sidebar area.

  1. Select the Report Portal tab.
  2. In the Customize sidebar colors section, select a color from the palette to change any of the following sidebar colors. You can preview the selected colors at the bottom of the UI Settings page, and click the reset button next to the color picker to revert to the default color.
    Background color
    Text color
    Active item background color
    Active item text color
  1. Select the Admin Portal tab.
  2. In the Customize sidebar colors section, select a color from the palette to change any of the following sidebar colors. You can preview the selected colors at the bottom of the UI Settings page, and click the reset button next to the color picker to revert to the default color.
    Background color
    Text color
    Active item background color
    Active item text color

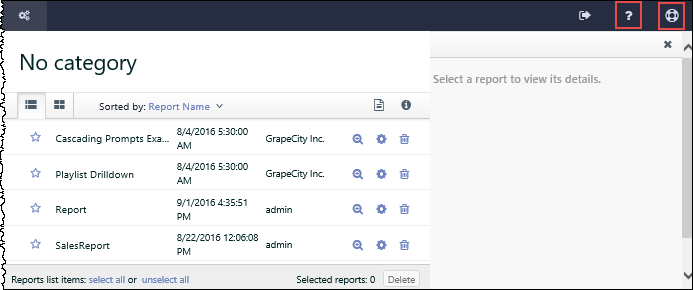
To toggle the Help and Feedback buttons

  1. Select the Common tab. By default, Enable Feedback and Enable Help check boxes are selected.
  2. Clear the Enable Feedback check box to hide the Feedback button, and clear the Enable Help check box to hide the Help button.
  3. Click Save.
Help and Send Feedback menu

To customize the help page URL

  1. Select the Common tab.
  2. Under Custom URL, enter the URL to which you want the Help button to navigate.
  3. Click Save.

To customize the logo

  1. Select the Common tab. By default, the Display logo check box is selected.
  2. Keep the Display logo check box selected to customize the logos in ActiveReports Server - Login, Header, Mobile, and Favicon. Or clear the Display logo check box to hide all the logos.
  3. Click the Upload button to open the Upload a Logo dialog. Drag an image file or click to upload an existing image file.
  4. In the Upload a Logo dialog, click the Upload button.
  5. Click Save.

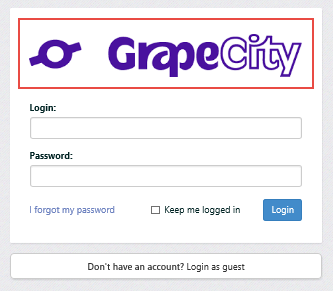
    Login logo

    The Login Logo appears on the welcome screen. The supported image types are PNG, JPG, BMP, EMF, WMF, or GIF. The recommended size is 420 x 68 pixels.
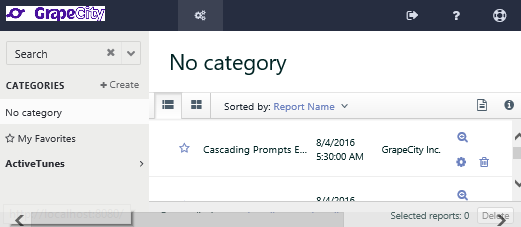
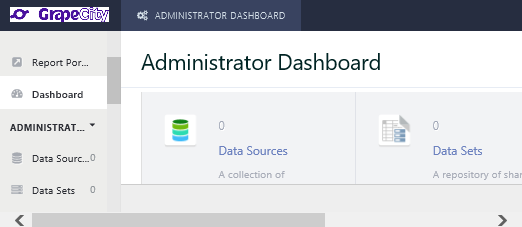
    Header logo

    The Header Logo appears on the top left corner of the Report Portal and Admin Dashboard. The supported image types are PNG, JPG, BMP, EMF, WMF, or GIF. The recommended size is 370 x 80 pixels.
     

    Mobile logo

    The Mobile logo appears in the top left corner of the Report portal and Admin dashboard in mobile devices. The supported image types are PNG, JPG, BMP, EMF, WMF, or GIF. The recommended size is 60 x 60 pixels.

    Favicon

    The Favicon appears in the browser tab. The supported image type is ICO and the recommended size is 16 x 16 pixels.